Day 1: First Wash and Vacuum
The first day of Hunky Dory’s restoration was all about getting back to basics and starting the long process of bringing her structure back to life.
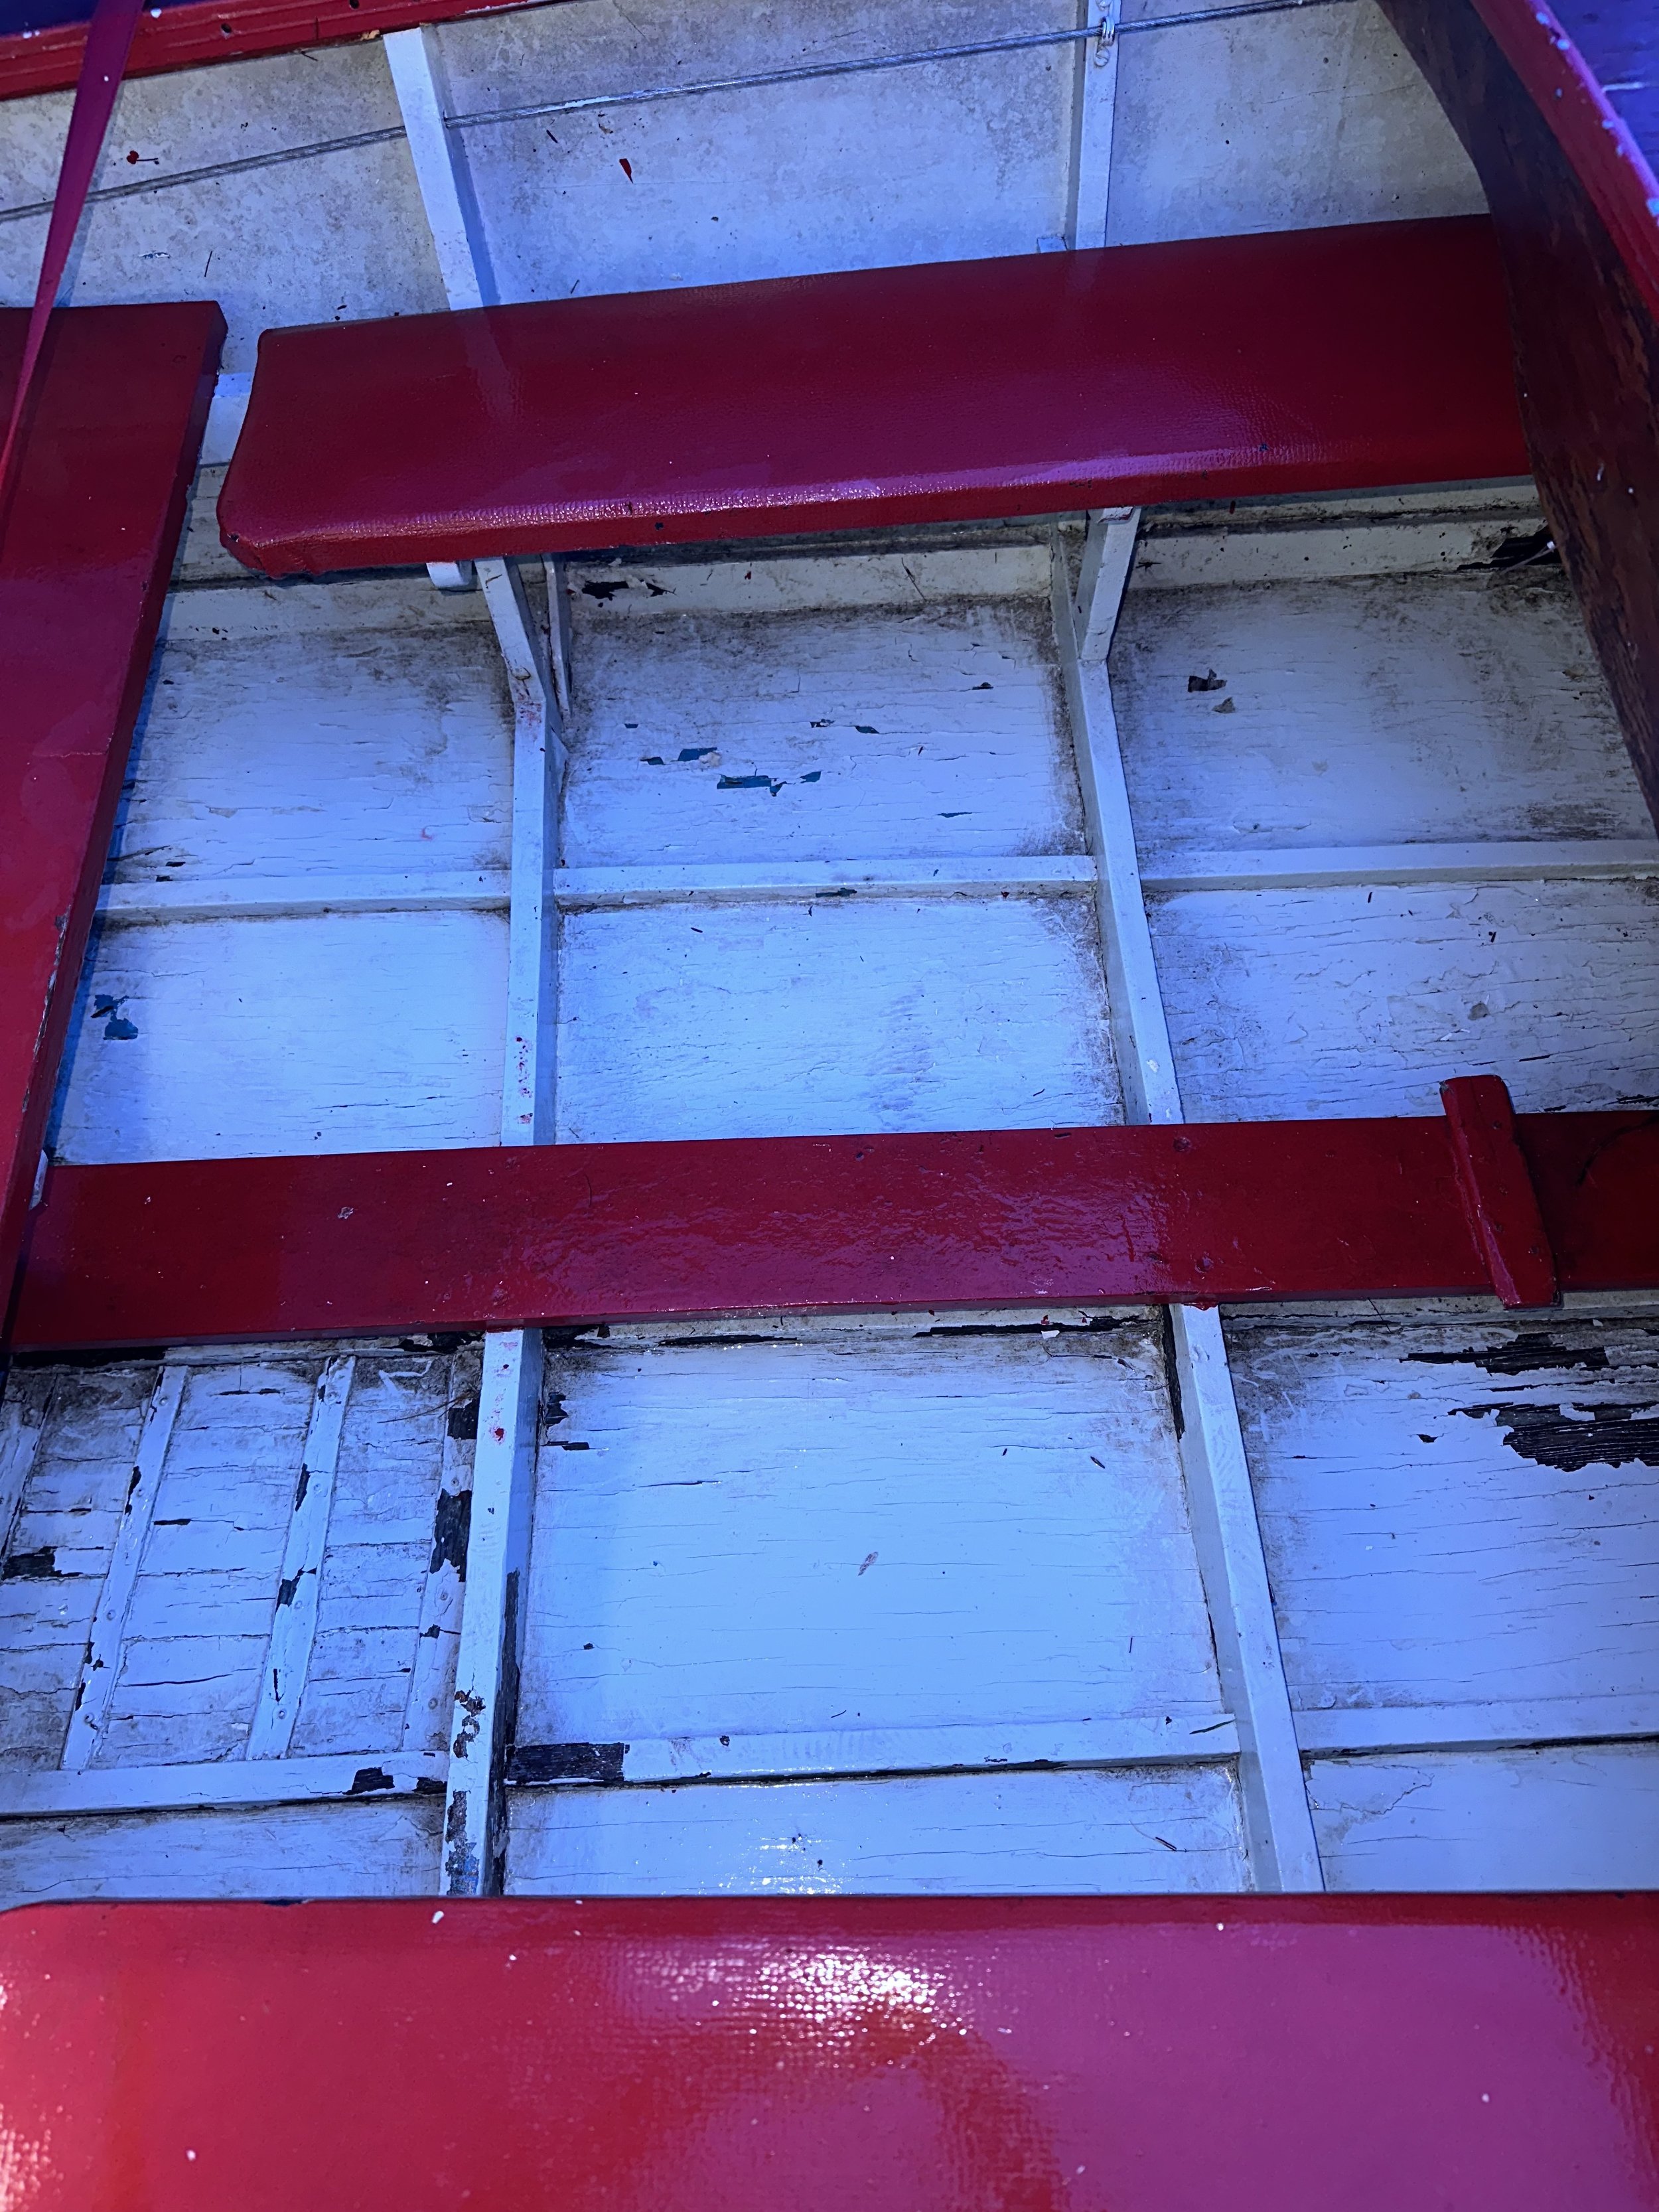
We began by removing the front bench seat, which had clearly seen better days. The fasteners came out easier than expected, though we’ll need to repair or replace a few support areas underneath. Next, we lifted the raised floorboards. Underneath was a collection of old leaves, dirt, and debris that had built up over the years. It gave us a good look at the hull's interior, and thankfully, there were no major signs of rot—just years of neglect and grime.
Once the interior was cleared out, we brought in the shop vac and spent a good hour getting the dirt and debris out of every corner and crevice. That alone made a huge visual difference and helped us see where the real work would need to happen next.
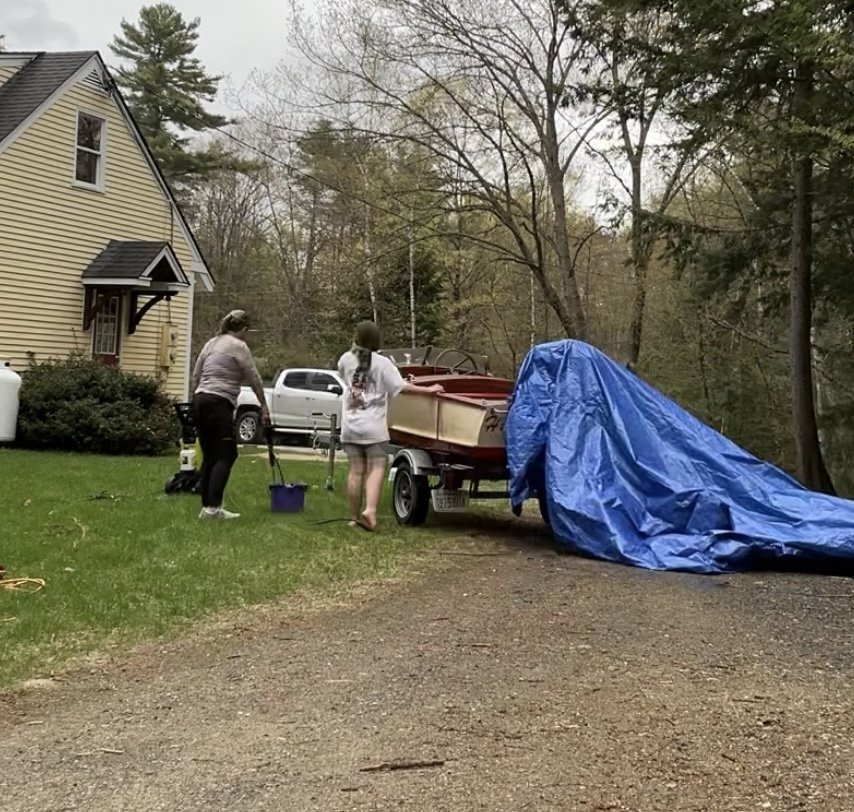
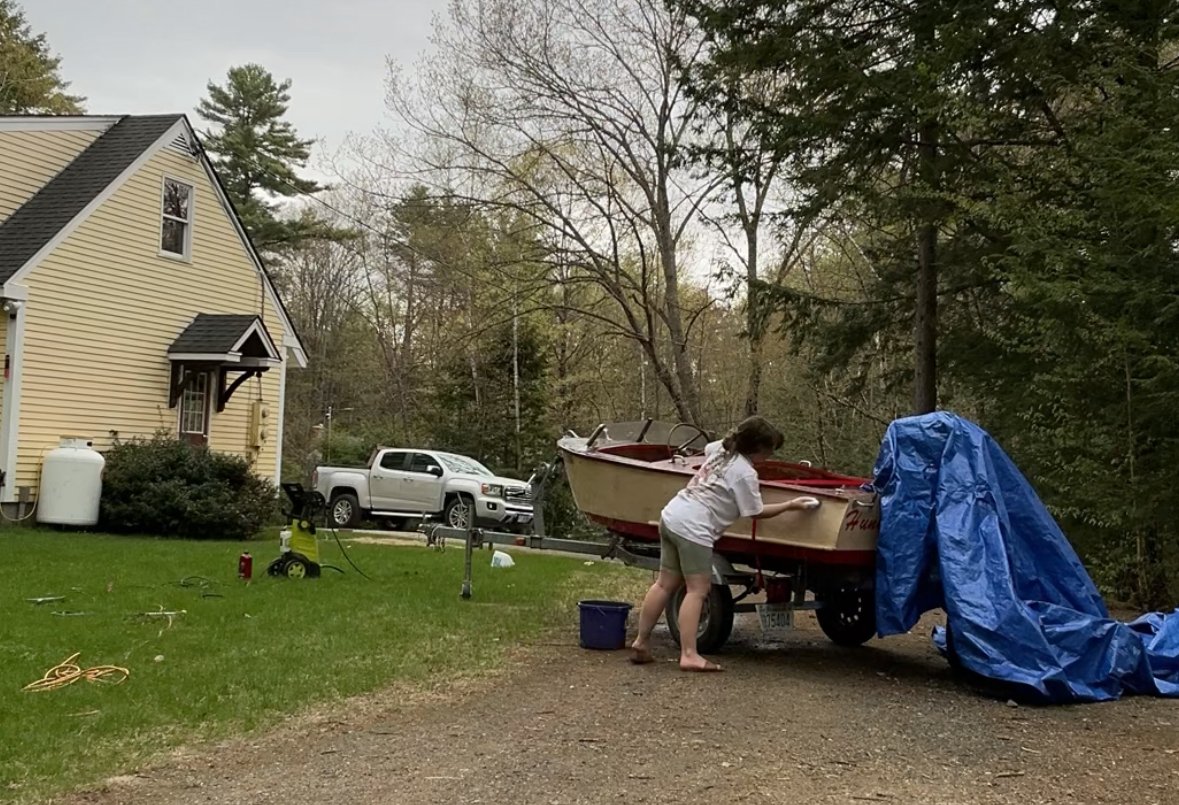
After vacuuming, we moved on to washing. We scrubbed every inch of the boat inside and out, then hit it with the pressure washer to blast away years of grime. All of this happened during a steady downpour, which honestly helped move things along, even if it left us soaked through. Despite the weather, the hull cleaned up well and revealed solid wood underneath, with only a few areas that will need patching or reinforcement.
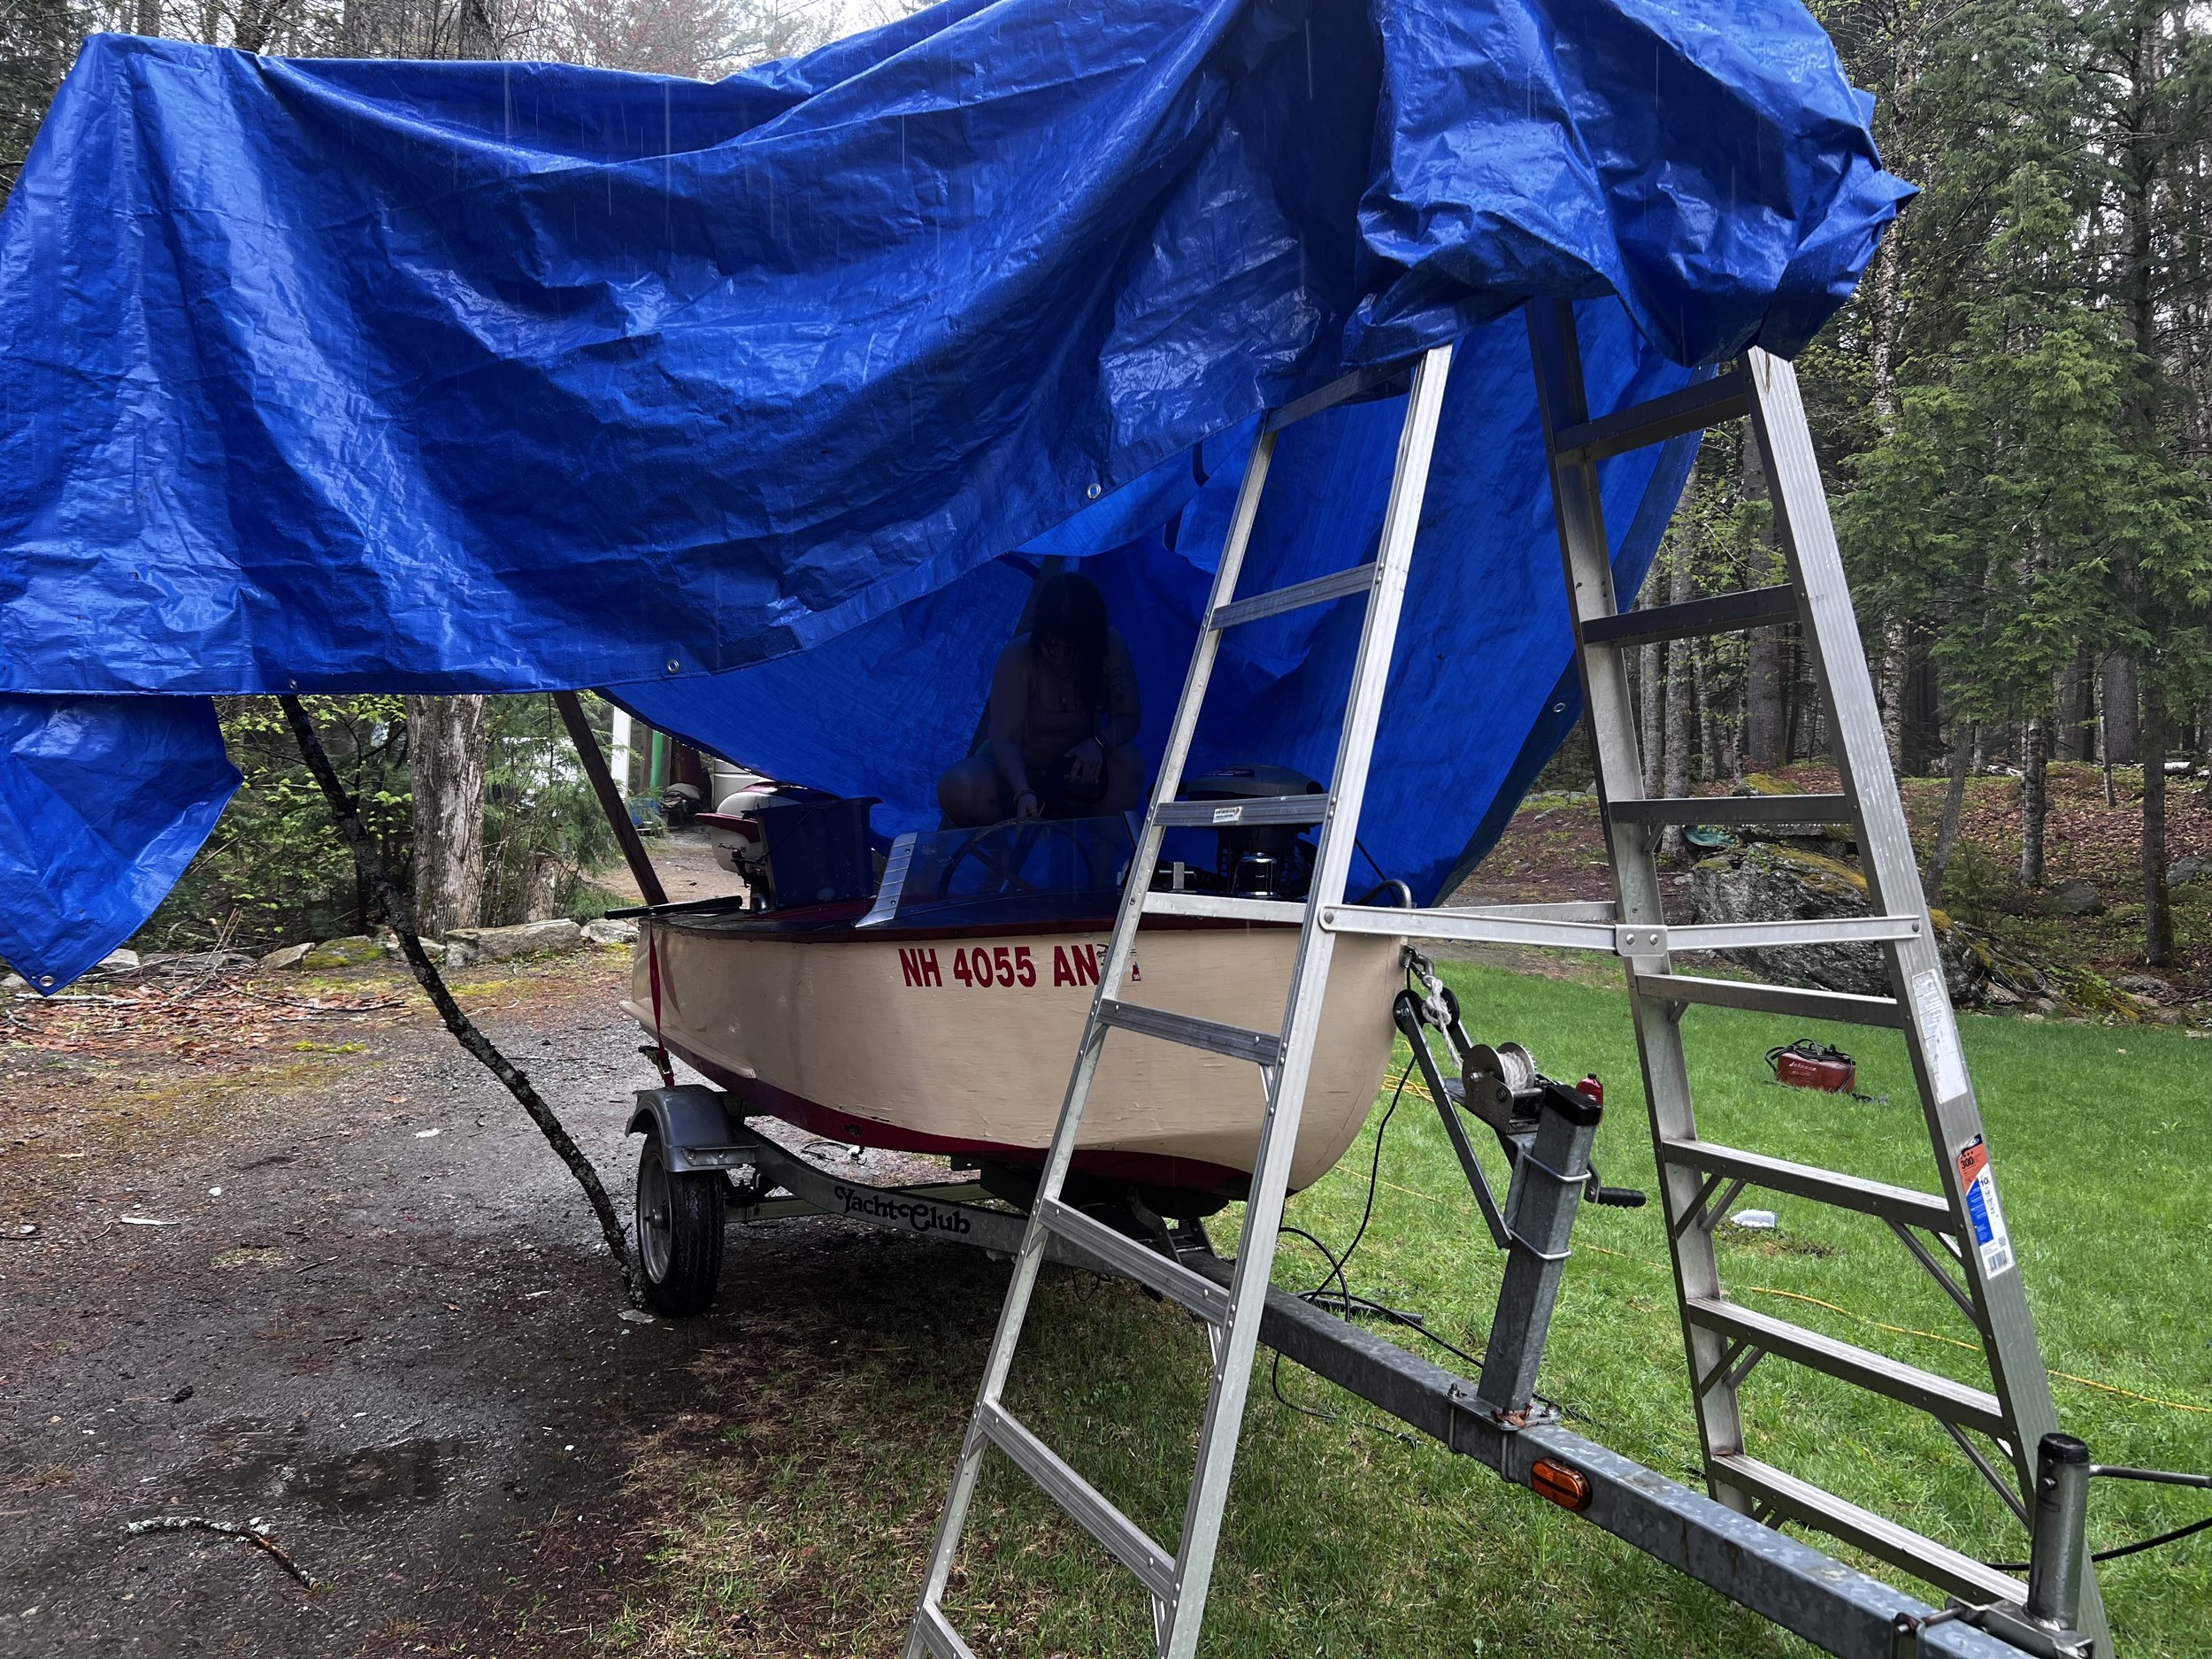
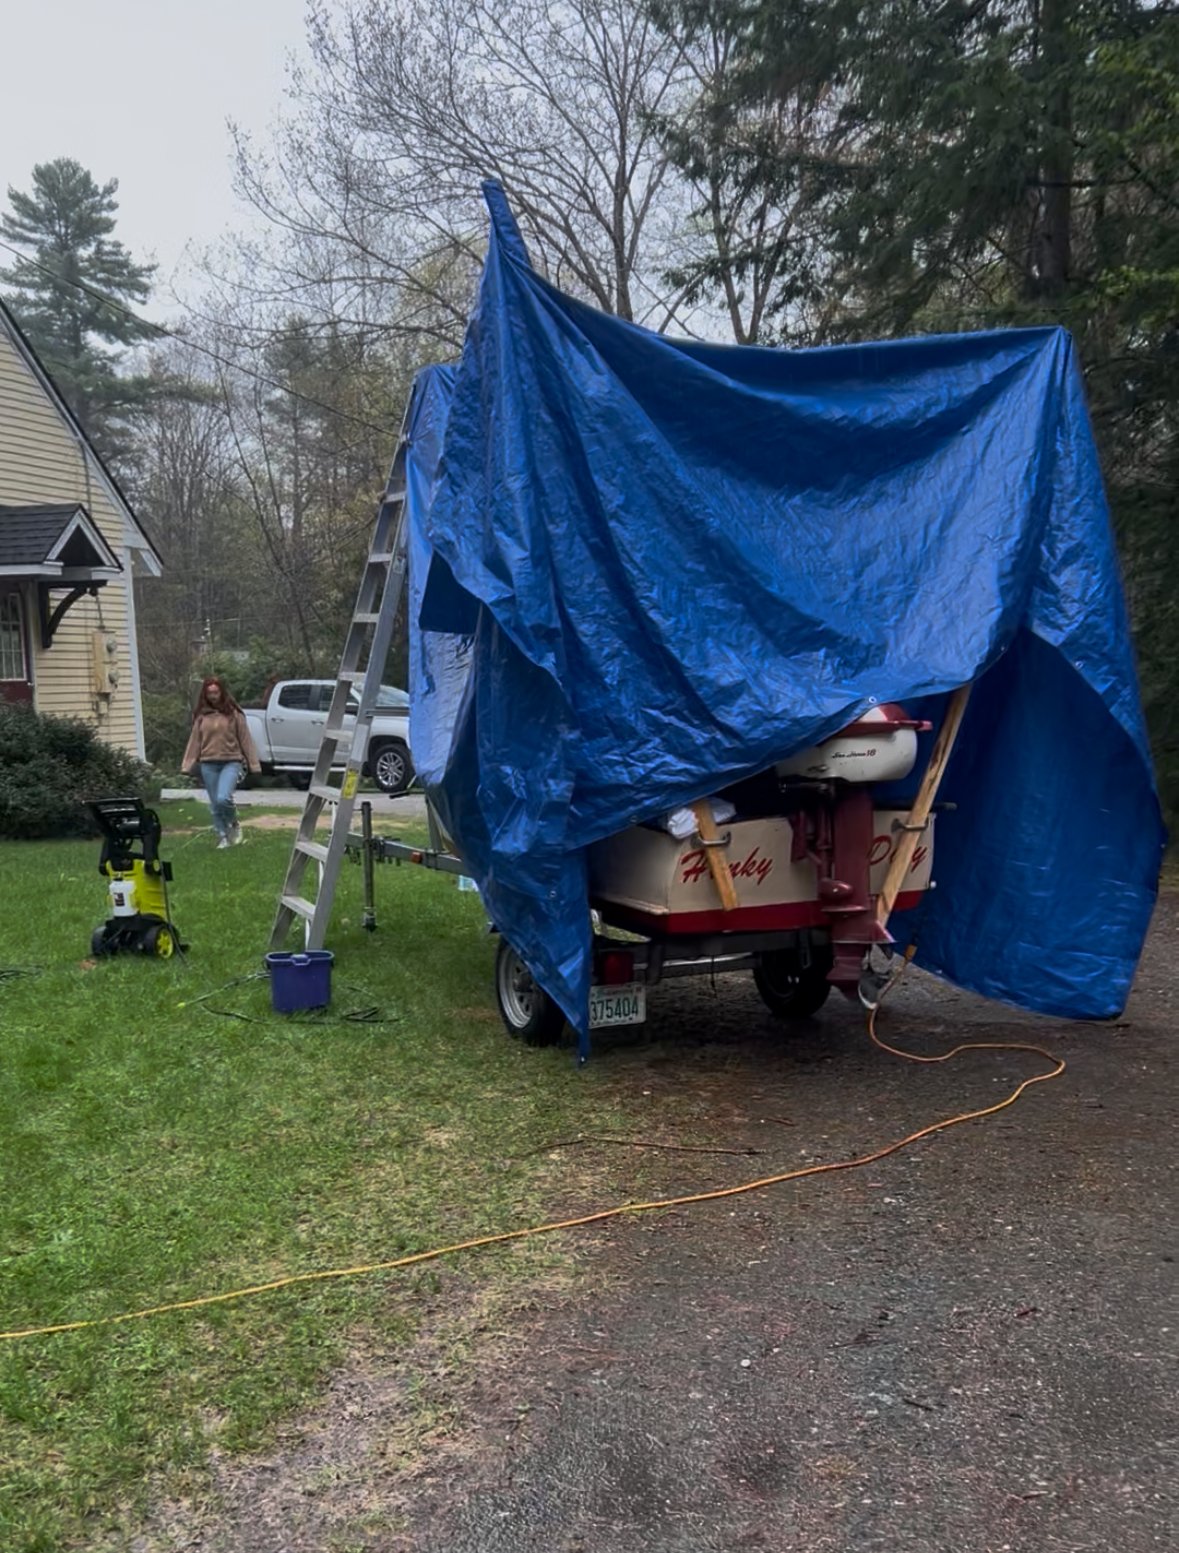
With the rain still coming down hard, we decided to set up a temporary shelter so we could keep working to suck out the muddy soap water. Using a tarp and some wood we found in Grandpa’s shop, and a few makeshift stakes, we built a basic tent over the boat. It’s not fancy, but it’ll keep most of the water off while we keep moving forward.
Day one is done. The boat is officially stripped down and cleaned out. Next up: assessing structural damage and beginning small repairs. Hunky Dory is showing her age, but she’s holding strong.